
DOkA - Firmware time
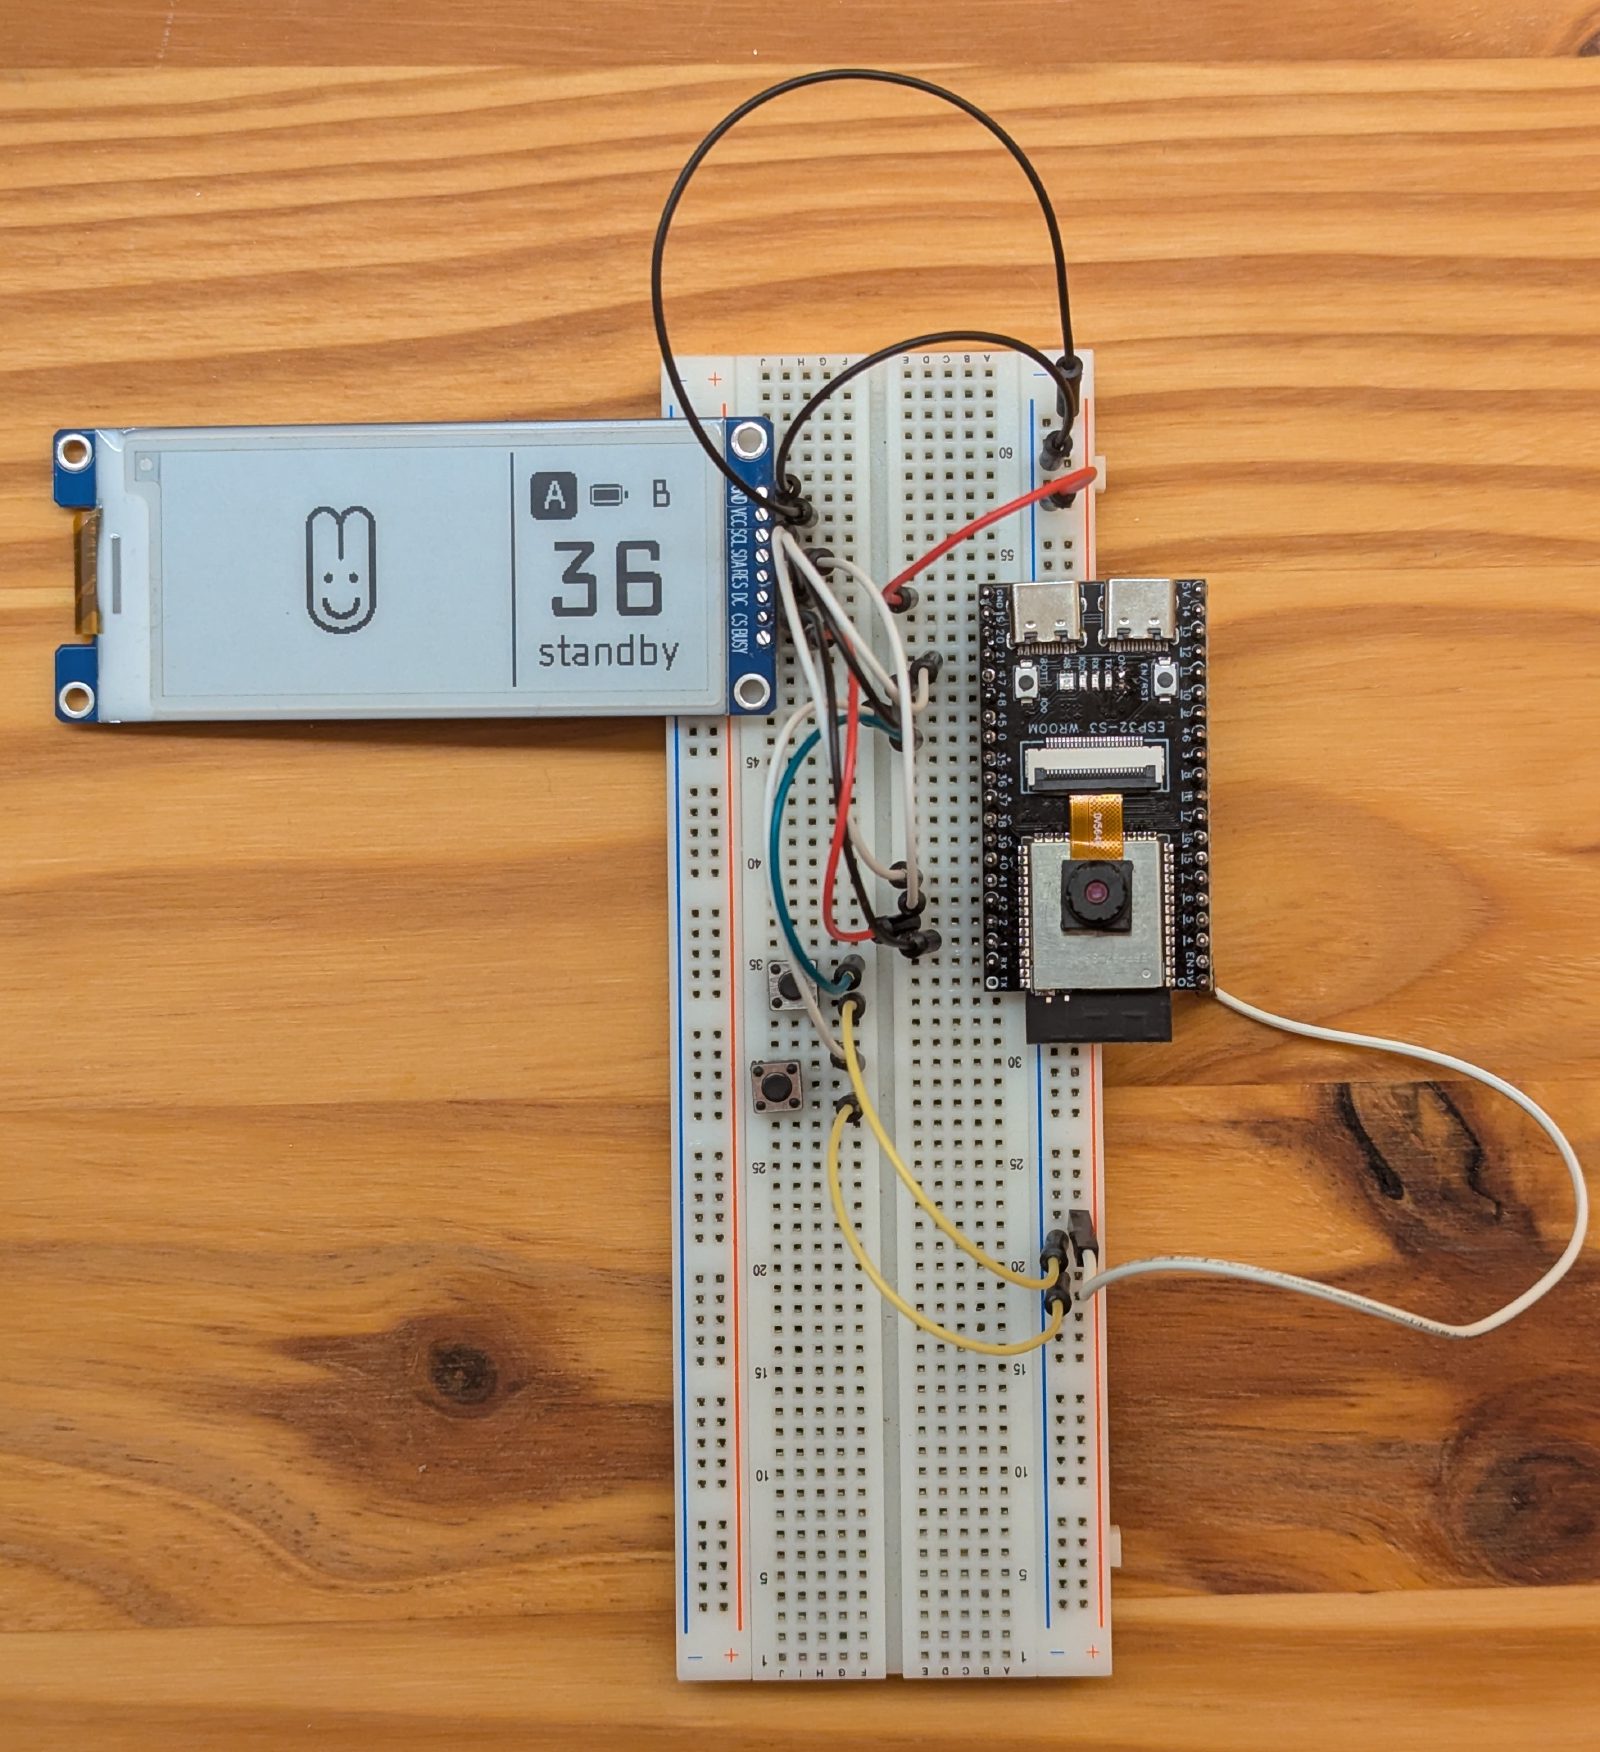
Before spending time and money on a PCB, I built a prototype on a breadboard with an ESP32-S3 development board and e-ink module to test and develop the firmware.
Speeding up an e-ink display
I was most excited to test the camera preview on the e-ink screen. A regular refresh takes between 0.5 s and 2 s, meaning a refresh rate of 2 fps at most. Far too slow for a viewfinder. Then I found the GitHub repo fastwave, which uses some tricks to drive e-ink screens with an SSD16XX controller at frame rates of up to 30 fps. I use this only for the viewfinder preview. Everything else uses standard full and partial refreshes.
Using fastwave comes at a cost. When used for long periods, there’s a risk of permanent burn-in of the pixels due to repeatedly pushing a pixel to the same color (black or white). For example, when a pixel that is already black is again pushed to black, it might accumulate a charge that doesn’t go away, even with a full refresh. That’s why a default refresh has an equal number of pushes in both directions for each pixel. Fastwave doesn’t do this. It uses only one strong (high-voltage) push per frame. If a pixel remains black between frames, it will again be pushed to black.
To mitigate this, I implemented a system in which each pixel can only be pushed 10 times to the same color. After that, the pixel is simply left alone until it needs to change color. When the camera goes to sleep, all the pixels that still have a “debt” (unequal number of pushes in either direction) are pushed to the other direction, so that over time, the screen does not accumulate any charge. I also lowered the frame rate to around 10 fps, as this seemed like the sweet spot between ghosting and usability.
Using the camera
I know how to code, but I’m not a software developer. Writing this firmware from scratch would’ve taken me months, so I used Claude to write the code. I designed the UI in Figma, described how every screen and button should behave, and tested each version until it felt right. This does feel a bit like cheating, but it leaves more time for the part I actually enjoy: deciding how the camera should feel.
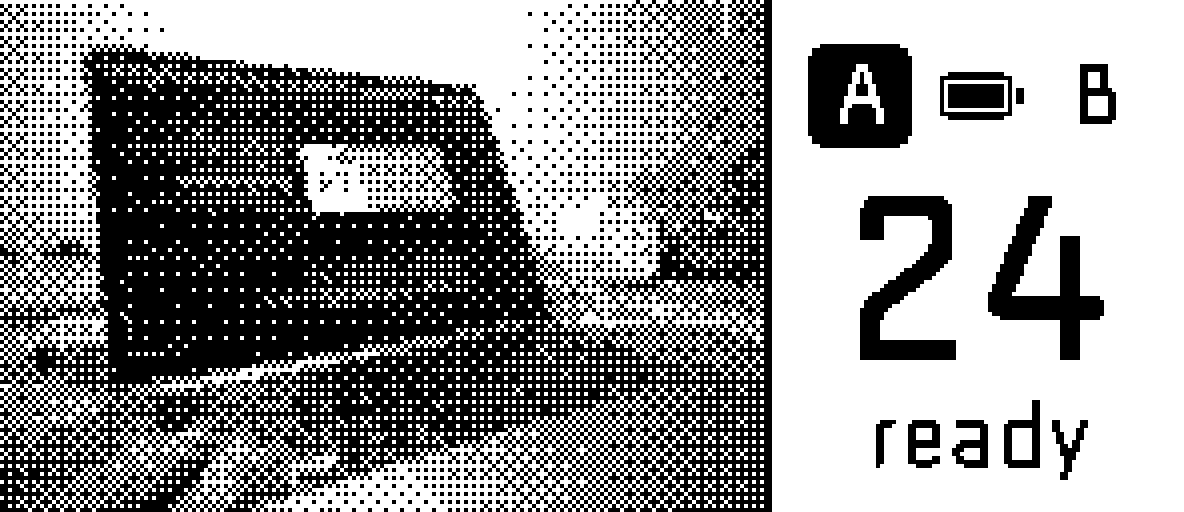
Taking photos is simple. Wake the camera with the “select” button, frame the shot on the e-ink viewfinder, and press the shutter. The screen goes black for a moment to hide the ghost image on the screen. No review, no second look. Double-pressing “select” activates a self-timer. That’s about it.
The only choice you have comes before you’ve taken any photo, when you load a roll. Like picking a film type, you choose a preset and stick with it.
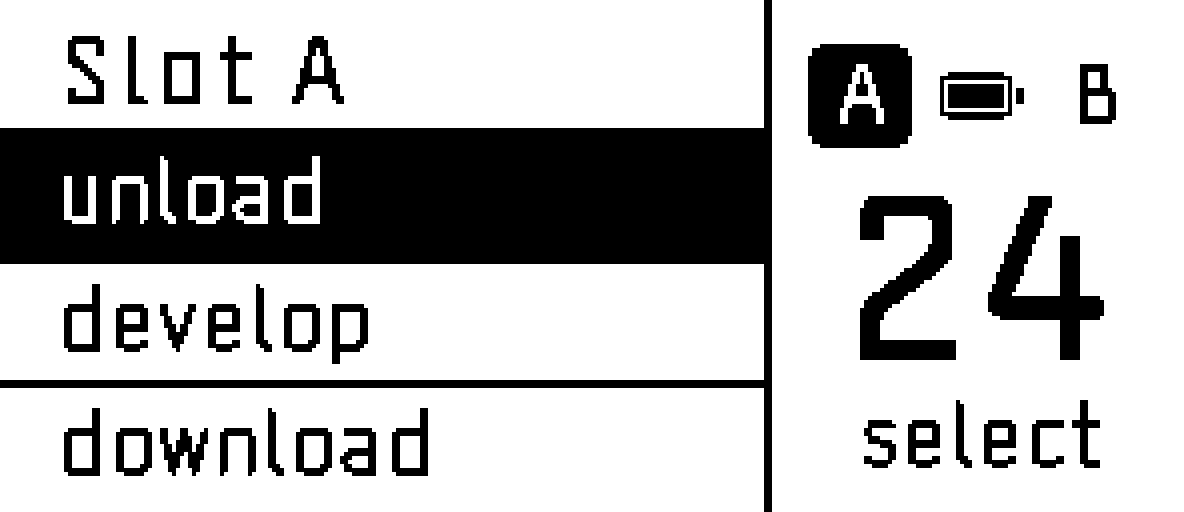
Developing is intentionally more involved. The whole idea of DOkA is to take a photo, stay in the moment and see the picture later. So to see the photos, you have to unload the roll and let it develop. Then you can download and archive it. While the roll in slot A is developing, you can already load a new one in slot B and keep shooting.
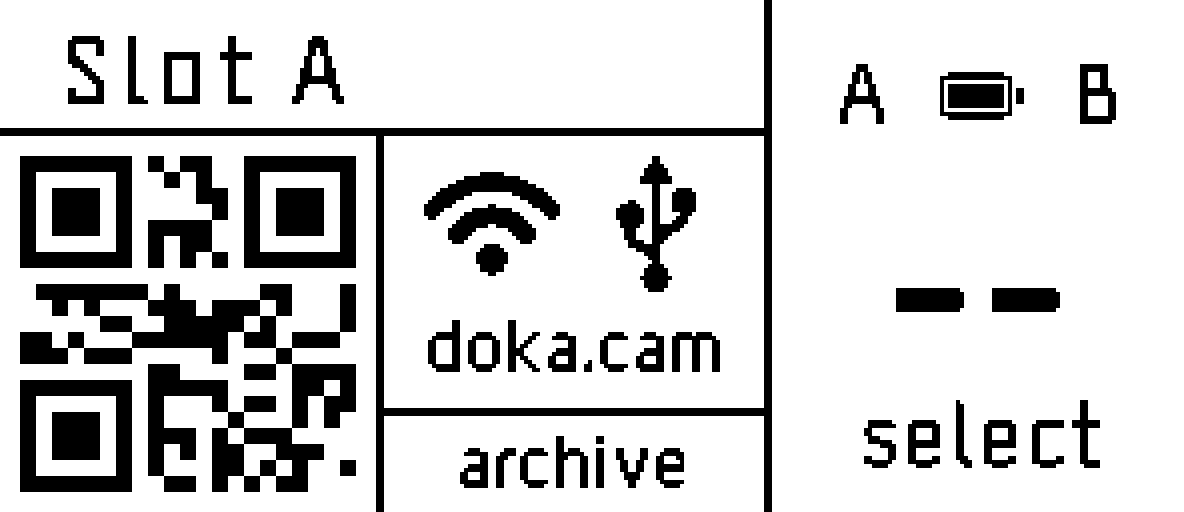
Once the roll is developed, you can transfer the photos over USB or from a web page hosted on the camera itself.